Saturday 14 February 2015

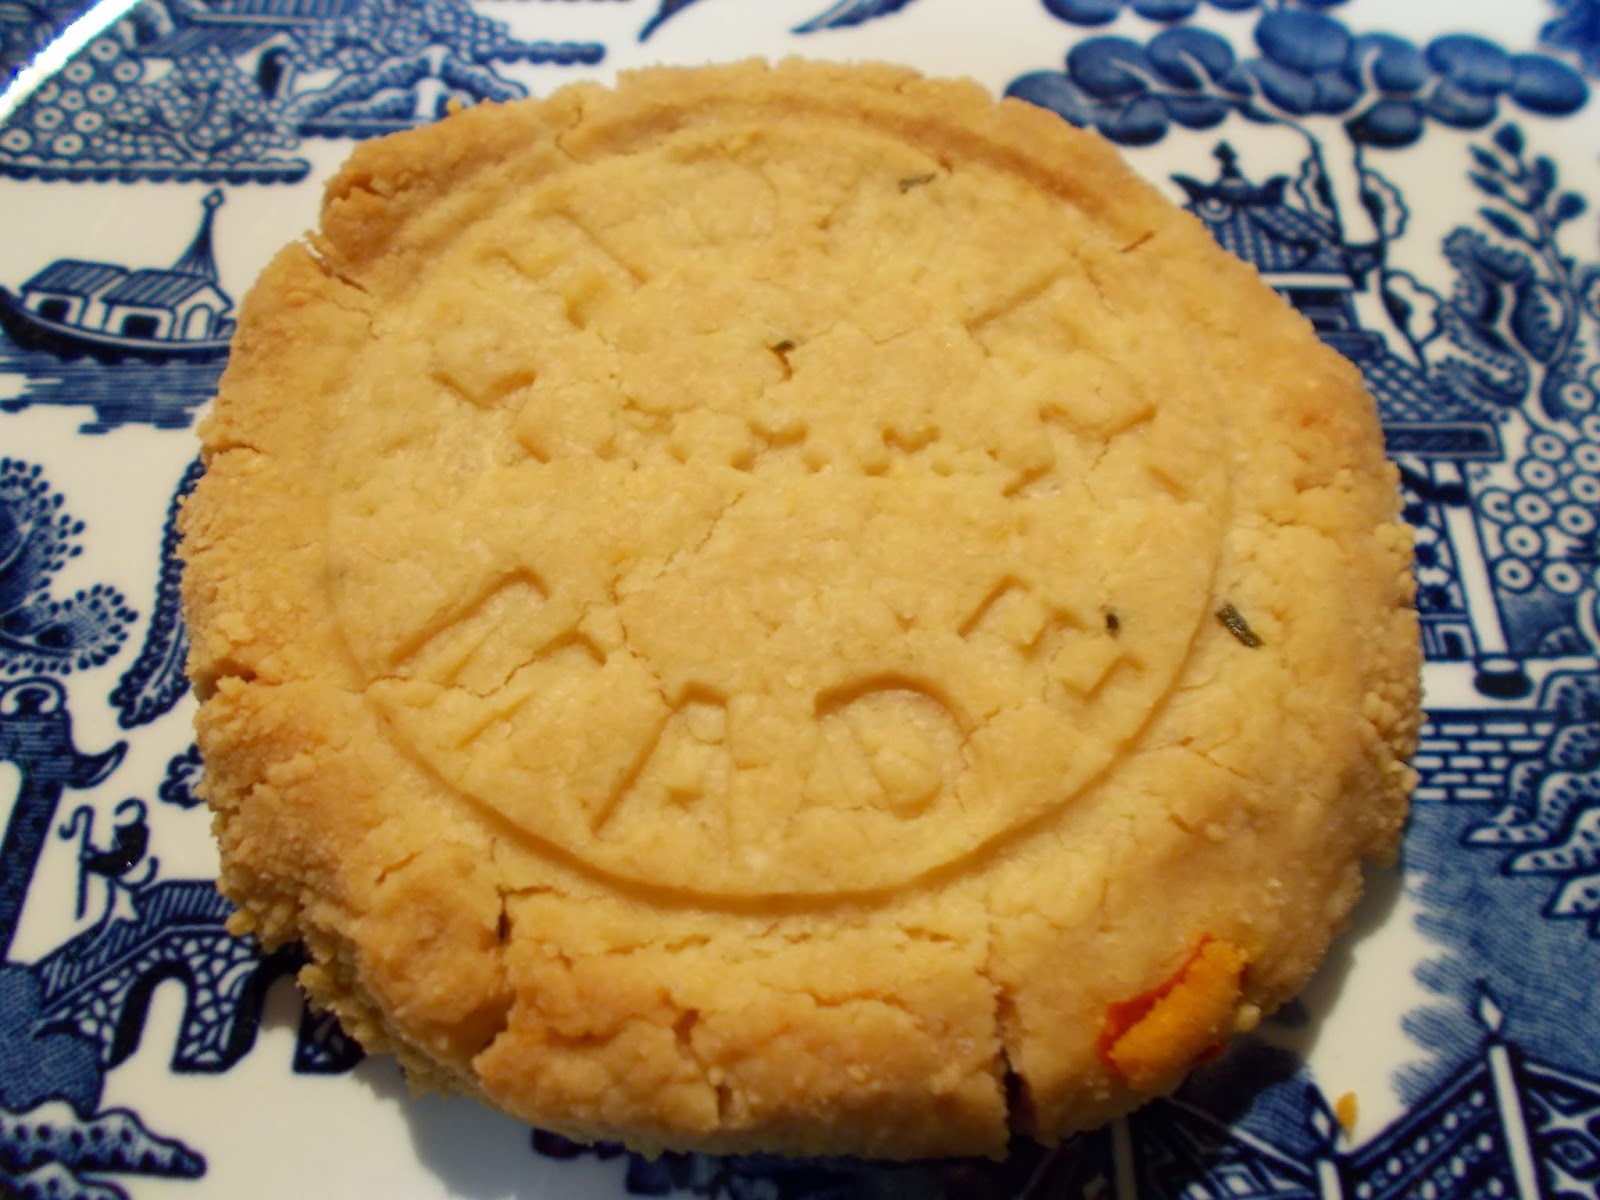
Salted Rosemary Shortbread…


Salted Rosemary Shortbread…


Hmmm,   Craving something crisp and tasty but nothing in the pantry.   So…
I decided to experiment.
  
Result...Salted Rosemary Shortbread…


 Ingredients
·         200g softened butter
·         1 tablespoon Raw Sugar
·         1 egg
·         1 teaspoon Himalayan Salt
·         2 Tablespoon Sweet Chilli Sauce
·         2 -> 2 ½ cups Plain flour
·         2 Tablespoon grated Parmesan Cheese (for rolling)


Method
1.      Cream butter and sugar.
2.    Add Egg, Salt, Rosemary and Chilli Sauce and mix well.
3.    Add 1 cup of flour and mix well.
4.    Continue to add flour until you have a stiff crumbly dough.
5.    Place dough onto doubled plastic wrap, knead gently to bring together.
6.    Form into a log aprox. 25cm long / 4cm and place in the fridge.
7.     When firm, unroll and sprinkle the log liberally with parmesan and press firmly to get it to stick.
8.     Cut into about 1 cm slices and place on greased or lined baking tray .
9.    Flatten slightly with the palm of your hand.
10.   Bake in a Mod 175°C oven for 25 to 30 minutes or until golden brown

Friday 8 August 2014

"Black Forest Gateaux" Cup Cosy

When I put these two colours together I immediately had an image of a luscious creamy chocolatey "Black Forest gateaux".  Oh yummy  yummy.


Then I added the gorgeous etched frangipani button and it was perfect.
The base is tightly crocheted circle that acts as a coaster to protect your furniture as well as keeping your drink warm. 

BLACK FOREST GATEAUX"  MUG SNUG

This is a Mug Snug with an in-built coaster base.

The base is worked in a very tight SC circle to give stability.  (see photo below)
There is a side slit for the handle and a button and loop closure at the top.
I used a dark chocolate brown for the base and main colour and lovely cherry red contrast.


The cosy is worked 8 ply yarn using a Size 4.00mm crochet hook.
I am self taught and my terms are what I have picked up in various books and recently on-line.
Abbreviations used.BL = Back Loop
Ch = Chain
SS = Slip Stitch
SC = Single Crochet
DC = Double Crochet
halfDC = Half Double Crochet
Sk = Skip

MC = Main colour
Con = Contrast colour
Using MC, Start with a magic circle.   The work from here to Row 12 are in continuous rounds.
Row 01.  6SC into the circle.  Mark 6th stitch with marker  (6SC)

Row 02.  2SC in each SC to marker. Replace the marker.  (12SC) 
Row 03, *1SC in 1st SC, 2SC in 2nd SC,  repeat from * to marker.  (18SC)
Row 04. *1SC in 1st SC, 1SC in 2nd SC, 2SC in 3rd SC.  repeat from * to marker.  (24SC.)

Row 05. *1SC in 3SC.  2SC in 4th SC.  Repeat from * to marker.  (30SC)
Row 06. *1SC in 4SC.  2SC in 5th SC.  Repeat from * to marker.  (36SC)
Row 07. *1SC in 5SC.  2SC in 6th SC.  Repeat from * to marker.  (42SC)
Starting the sides.
Row 08. SC in next and every SC to marker.
Repeat Row 8 twice.
Row 11. SC in next SC.  *Sk 2SC, 5DC in next SC,  Sk2,  SC in next SC.  
              Repeat from * to marker. Ch 2.  TURNRow 12. 2DC in 1st SC, *Sk 2,  SC in middle DC of 5DC group, Sk2,  5DC in SC.
             
Repeat from * to marker. Ch 1.  TURNRow 13. Join in Contrast colour (Don't cut the MC away).  Repeat Rows 11 and 12. using the Con.
Row 15.  Using MC ,  repeat rows 11 & 12.
Row 17.  Using Con. 
 repeat rows 11 & 12.  Tie off the Contrast colour.Row 19.  Using MC ,  repeat row 11 Row 20.  Half DC in next stitch, *SC in next 3 DC, Half DC in next DC, DC in SC, Half DC in next DC,
             Repeat from * to marker. then 3 more Half DC in the same DC (this is to finish off the handle slit)  Continue around the handle slit using Half DC stitches evenly spaced until you reach the top of the other side. 4DC in the top DC.Row 21.  SC across the top again.

Loop for button.  Ch 14.  SS about 1cm down the handle slit.,  Turn and SC about 24 stitches in the 14Ch loop you created.
SS to join to main cosy body.
Fiish off and weave in all loose ends.
Sew on your button,  Add one cup, and you are ready to make your coffee
Really Handy & Cheap Craft Tote Bag

Do you have one of those free give away bottle bags from your local 'Bottle 'O' ' lurking in your cupboard somewhere?.


Drag it out, dust it off and re-purpose it.
 Put a plastic cup in the bottom of the pocket and you have storage for all your crochet or knitting needles


Nice deep pockets keep things separated.  


Pockets for tools, 
needles, scissors etc.


Pockets for several balls of wool.
The pockets are deep, and perfectly sized to hold your ball of wool in place while you knit.  No more chasing under the furniture, or retrieving it from the cat.


The bags make the best Craft Tote Bags you will ever use.


Wednesday 23 July 2014

"Crocodile Tears" Mug Snug

"Crocodile Tears" Mug Snug.

This is a Mug Snug with an in-built coaster base.
The base is worked in a very tight SC circle to give stability.  (see photo below)
There is a side slit for the handle and a button and loop closure at the top.
I usually use a single colour for the base and top section and multi-colour for the crocodile stitch section


I used 8 ply acrylic yarn in a solid colour and a variegated yarn.
Size 4.00 crochet hook.
I am self taught and my terms are what I have picked up in various books and recently on-line.

Abbreviations used.
Ch = Chain
SS = Slip Stitch
SC = Single Crochet
DC = Double Crochet
DC3tog = Double Crochet 3 together
CS = Crocodile stitch is a two row pattern See this tutorial that may help....

https://www.youtube.com/watch?v=RUNtrp_Vj4o
http://www.lostandfoundlane.com/p/croc-stitch-easy-way.html

CS is simple once you get the hang of it.  Worked on a "V" stitch frame.
I prefer to alternate the 'scales' and give them a wide centre rather than a tight center.


BL = Back Loop

Start with a magic circle.   The work from here to Row 12 are in continuous rounds.
Row 01.  6SC into the circle.  Mark 6th stitch with marker  (6SC)

Row 02.  2SC in each SC to marker. Replace the marker.  (12SC) 
Row 03, *1SC in 1st SC, 2SC in 2nd SC,  repeat from * to marker.  (18SC)
Row 04. *1SC in 1st SC, 1SC in 2nd SC, 2SC in 3rd SC.  repeat from * to marker.  (24SC.)

Row 05. *1SC in 3SC.  2SC in 4th SC.  Repeat from * to marker.  (30SC)
Row 06. *1SC in 4SC.  2SC in 5th SC.  Repeat from * to marker.  (36SC)
Row 07. *1SC in 5SC.  2SC in 6th SC.  Repeat from * to marker.  (42SC)
Begining of the sides....
Row 08. SC in each SC around the circle. (42SC)
Row 9.  Repeat Row 8  (42SC)
**.   Join in the 2nd colour here if you are using it.
Row 10. Ch2,2DC in 1st SC.  *miss 2SC, Ch2,  DC3Tog.  repeat from * to end withDC3tog in 1st SC in the row     ( 15 DC3tog).

**  Now we start the crocodile stitch
Row 11. 4Ch 1DC in top of the 1st DC3tog, *(1DC 2Ch 1DC) in top of next DC3tog.  repeat from * around to lst DC3tog.  Turn.
That is the foundation row.
Row 12.  *4DC down the 1st post of the foundation row. 1Ch, 4DC up the post of the 2nd post.  ss in the 2 Ch space of next "V" stitch. repeat from * around the cosy.  (7 scales)
Row 13. 4Ch 1DC in the middle of the 1st scale. *(1DC, 2Ch 1DC) in the 2Ch space of next "V" stitch. 
(1DC, 2Ch 1DC) in the middle of the 1st scale.Repeat from * to end  (15 "V") frame
Row 14.  SC in 1st 2ch space.  In the  2nd "V"  *4DC down the 3rd post of the foundation row. 1Ch, 4DC up the post of the 4th post.  ss in the 2 Ch space of next "V" stitch. repeat from * around the cosy.  SC in last 2Chspace  (6 scales)
Row 15. 4Ch 1DC in the 2Ch space of next "V" stitch.  *(1DC, 2Ch 1DC) in the middle of the 1st scale. (1DC, 2Ch 1DC) in the 2Ch space of next "V" stitch Repeat from * to end  (15 "V") frame
Row 16. *4DC down the 1st post of the foundation row. 1Ch, 4DC up the post of the 2nd post.  ss in the 2 Ch space of next "V" stitch. repeat from * around the cosy.  (7 scales)
Repeat rows 13 and 14
You should now have 4 rows of alternating scales.
Row 17. SC around the top.  42 or 43 SC  1Ch Turn
Repeat Row 17 3 times
At the end of Row 20,  4 SC in last SC and then do a row of SC around the handle slit to give a neat finish.
When you reach the top of the opposite side, Ch 12.
Join the Ch to the lowest row of SC to create a loop.
If you think it needs a stronger loop, Do a row of SC back over the chain

Sew a pretty button to the opposite side and tidy your ends away.
If you have managed to follow my instructions, you should now have a groovy Mug Snug.


Friday 18 July 2014

CHUNKY RIBS, a retro styled Tea Cosy Pattern

"CHUNKY RIBS"
Retro Teapot Cosy Cozy in Red and Multi Coloured acrylic yarn.
Fits a 3 -> 4 cup TeaPot.   Very neat and simple design, and can even be done in lots of colours of small left over yarn pieces.

A very simple pattern of single crochet done into the back of the stitch to give the ribs.
Gathered at the top with a chain cord done with both yarn types and tied with a bow.
I added a simple 'frill' at the bottom to finish it neatly

I used 8 ply acrylic yarn in a solid colour and a variegated yarn.
Size 4.00 crochet hook.
I am self taught and my terms are what I have picked up in various books and recently on-line.
This is y first attempt to write a pattern down.  I usually make up what I do as I go. ☺
I crochet quite tightly and the number of stitches and rows sizes may need to be altered to fit your own TeaPot

Ch = Chain
SS = Slip Stitch
SC = Single Crochet
BL = Back Loop

Using the variegated yarn, chain 37.
Row 1.  SC into 2nd ch from the hook and then each ch across. 36 SC,  Ch 1. turn.
Row 2.  SC into BL of each SC across.  Ch1.  Turn.
Repeat Row 2 14 times.
Row 30..Join in colour 2 and do 2 rows.
Row 32..Colour 1 and do 2 rows.
Repeat rows 30 to 33 twice
Colour 2 continue with pattern and do 8 rows.
Row 42..  SC into BL for 10 stitches, Ch 12 (slit for the spout.) SC into BL of remaining 14 stitches. Ch1. Turn...
Row 43.. SC into BL 14 SC, SC into 12 Ch, SC into BL remaining 10SC.
Rows 44  to 51.  Continue with colour 2 and pattern.
Row 52..  Join in colour 1 and do 2 rows.
Row 54..  Colour 2 and do 2 rows.
Repeat rows 52 to 55 twice.
Colour 1 and continue with pattern for 16 rows.
Join the two sides at the back using chain stitch, and remembering to leave a slit for the handle.
Finish off. and weave in all of the ends to your work.
Bottom frill..
Join in colour 2 to the bottom back.
Row 1.  SC evenly around the base of the cosy.
Row 2.  SC, DC, SC into 1st SC, *Miss one SC, (SC1, DC1, SC1 )into next SC.  Repeat from * and do a row around the bottom. Finish off.
Weave in all ends
Make a chain cord using both yarns about 50 -> 60 cms.
Thread the cord about 2 stitches down from the top of cosy and pull to fit.
Tie in a neat bow.


Back to the beginning..

After a lengthy break, I decided to take back some time for me and picked up my crotchet hook and knitting needles.

I pumped out some dog coats and a few amigurumi animals but found them to be a bit limited.
Then a search on eBay and other selling sites showed a new interest in cosies!!!


I knew I could make them with a few starter patterns and that was the beginning of what is now almost all consuming.


I found that my creations were selling as fast as I can pump them out.  WOW!!!


And I then found I needed a way to record my patterns.  I make them up as I go and when I am asked to "Make one like this, but in pink" or similar I have to go find the item and try to re-create what I did.  

This is even harder if I have already sold the item that needs to be copied.  WHOOPS!!
So this Blog is an attempt to write my patterns in a way that I can re-make something reuested, or that sold very quickly.

I figure if I can load some photos and basic pattern detail, I can come back later to refresh my memory.


So here goes.
My first attempts at writing crochet (and perhaps knitting) patterns.

Fingers crossed.